Rotating Fortune Cat

Fortune Cat

A fortune cat is a popular figurine among Asians. The eternally waving hand of the cat has magical properties that allow it to pull in good luck and prosperity into a business. With the hope of amplifying its luck-pulling abilities, I decided to start a project: a rotating fortune cat. That way the cat can pull in good luck from all directions, not just the front.

I started with the motor. I bought some panel-mounted stepper motors. They were very easy to mount but are pretty tricky to get up and running. I also added a potentiometer in there to control the speed and direction of the rotation. Here is the code I used to get the motor running.

Diagram of the circuit
It took a while to get the motor running

After I got the electronics working, I dove into the assembly and fabrication process. I used a 4in by 6in bamboo box for the enclosure. The first thing I try to do was figure out the mounting for the potentiometer. At first, I wanted to use a sliding potentiometer just because it looks nice. I created a few prototypes until I landed a design that fit well.

Some of my materials at the start
Various prototypes for sliding potentiometer mount

It took some drilling and Dremel work to create the hole that will fit the potentiometer. After some time though, I was able to create the appropriately sized hole for the sliding potentiometer.

After that, I mounted the Arduino and motor driver into the box using standoffs.

However, sometimes luck is just not on your side even though you have a lucky cat with you. During the soldering process, I accidentally broke my sliding potentiometer, and I didn’t have time to buy another one. Plan B it is. I ended up having to use a rotating potentiometer instead. I had to create another mount and I had to adjust the hole to fit a taller potentiometer.

rotating potentiometer in place of the sliding potentiometer

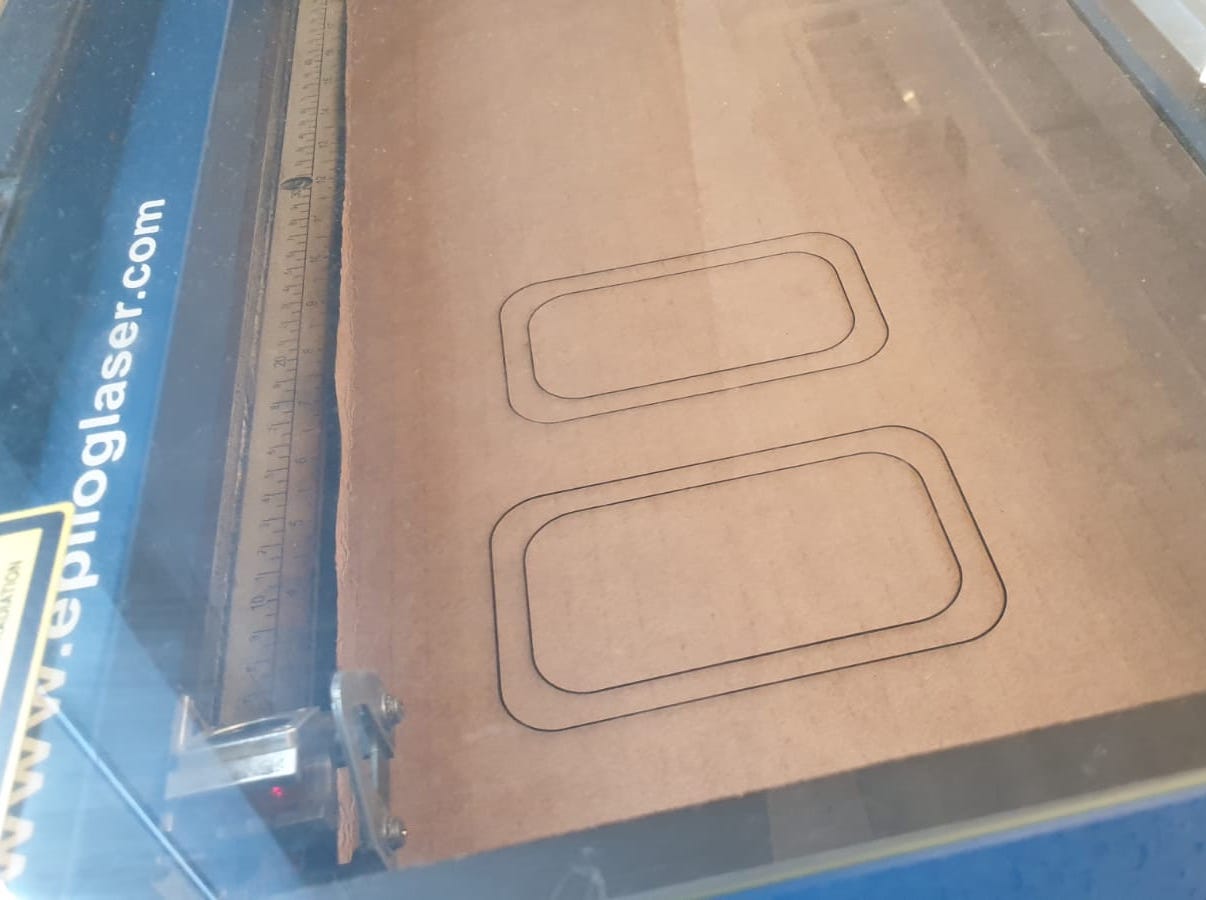
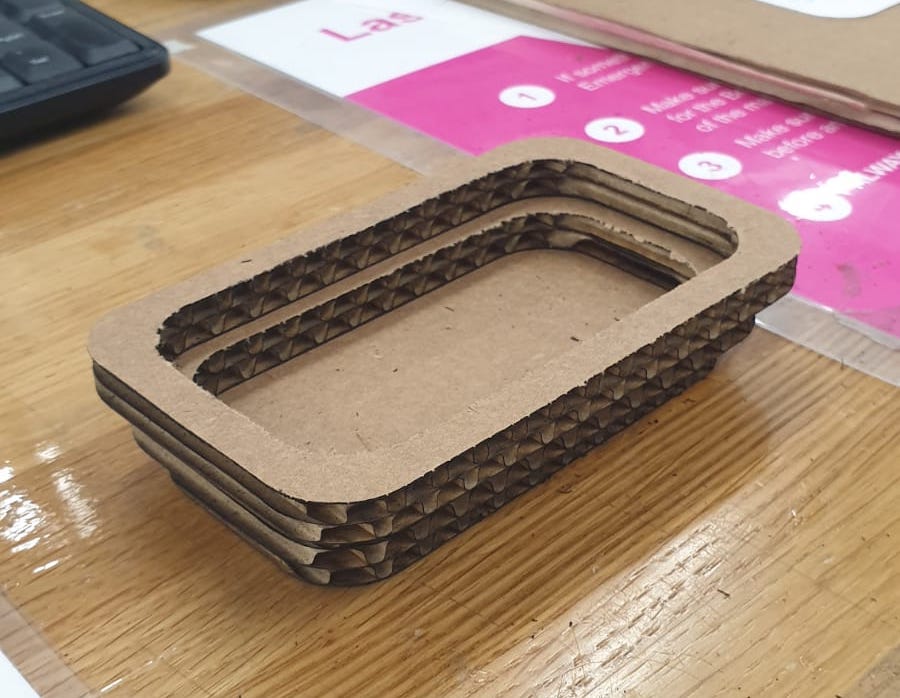
The final big thing to do is to create the lid and mounting for the cat. I made the lid out of acrylic using the laser. I did a few prototypes using cardboard first to make sure that the mounting holes are exactly right. I had also made the mounting for the cat using acrylic on the laser cutter.

Motor mounted on the inside of the lid

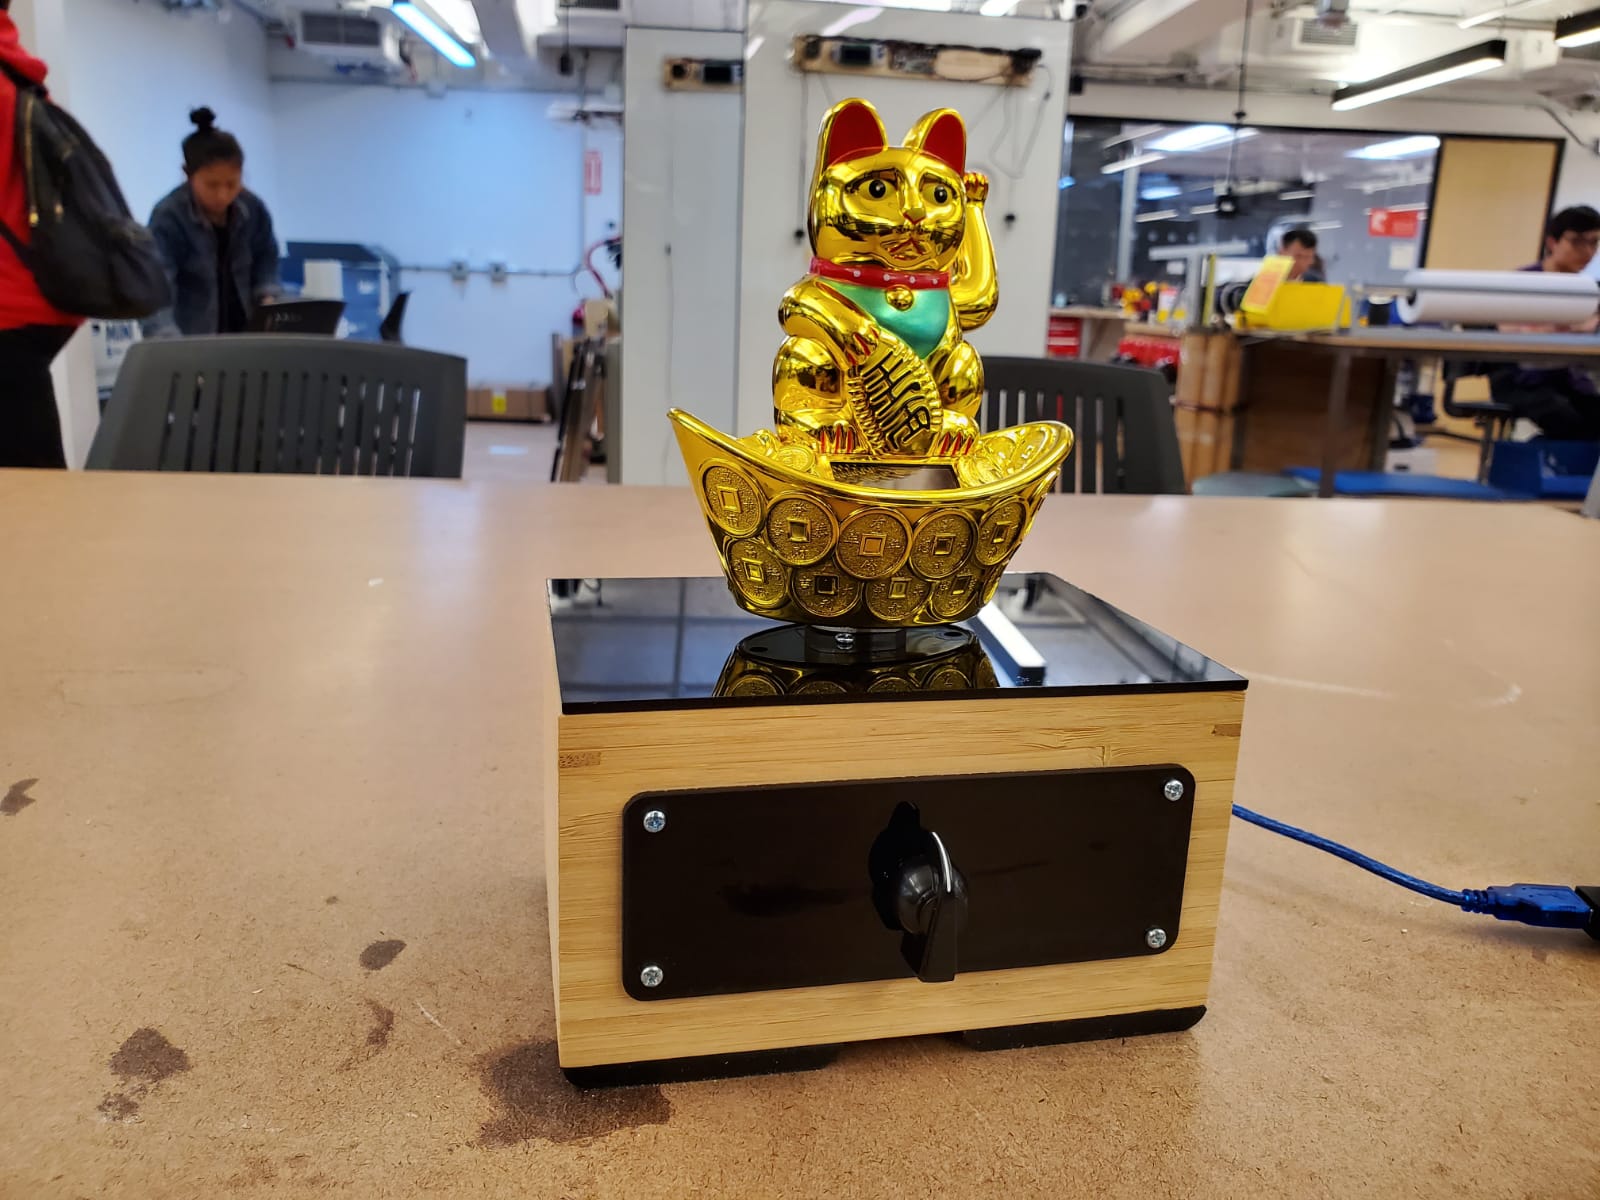
Lastly, I assembled everything together and added some black rubber feet at the bottom to make it look nice, and it turned out to be amazing!

Final product
Final product

Plants on Plants on Plants on Plants

This week’s fabrication challenge is to create something out of two different material that is not plywood nor acrylic.

My idea is to create something out of natural materials. The first thing that popped into my head was wood and cork. However, after some soul searching, I landed into an idea to create a plant vessel that is made entirely out of plant-based materials. I made my plant vessel out of bamboo, cotton, cork, paper, and ceramic.

Starting Materials

I started with a pre-made bamboo box and tried to wrap some cotton cloth around it and fasten it with glue. This proved to be harder and more time consuming than I thought.

Gluing the cotton cloth into the box

After the cotton was successfully wrapped around the box, I cut some cork to put on the top and bottom as decoration. The bottom piece I cut using a sharp knife, and the top piece I cut using the laser cutter. I wanted to play around with different methods to try to understand how the material responds.

Box with cork put on top and bottom

After the glue on the cork is set, I put some succulents inside. The succulents already come with a ceramic pot, and I thought that it played well with the theme so I decided to keep it. Also, I added some crumpled brown paper to serve as a filler. Originally I wanted to use little rocks, but I wasn’t able to procure it in time.

This is what the final product looks like. I’m pretty happy with the result. This will live in my room from now on.

My First Enclosure

This is my first time creating a prototype for an enclosure. To do this, I walked around my local 99 cent store to find some inspiration. Luckily, I was able to find something that sparked my curiosity pretty quickly. I found a sunglass case that is perfect for this project. It is made out a semi-soft material, and I’ve never played around with that material before. No time like the present to try new things!

My general idea is to create a controller-like device that can house components on the inside. I want buttons that can be pressed comfortably when the device is held with both hands.

The first thing I did was to remove the strap and the zipper head to make the case more streamlined.

Strap and zipper head removed

When life gives you lemons, you make lemonade. Sadly, sometimes when you order lemons online, it comes in late. I had ordered a variety of buttons from Adafruit that was supposed to arrive on Sunday, September 29th. However, the delivery gods decided otherwise, and my package still hasn’t arrived today (Tuesday, October 1st). Thankfully, my angel of a friend Lanni gracefully lent me two of her buttons so that I can (sort of) do this project in time.

Buttons from Lanni

I started with creating cutouts for the buttons on the sides of the enclosure. Dealing with this semi-soft material is quite different than wood. It somewhat easier in the sense that I can just cut it with a sharp knife. Though it is also harder in the sense that I can’t really use a drill to make a hole, so I have to do all my work manually.

Cutouts cut using a knife

After creating the cutouts, I mounted the two buttons that I had on the holes. I also made a slit on the other side so that I can pass a cable through. After that, I was pretty much done, since I ran out of things to mount.

All components mounted
The final product, it looks like a lizard
A picture of a picture of a picture of a picture of a picture of the controller
Controller in action

If there’s one key thing I can take from this experience, it is to always have a backup plan. I was lucky enough to find someone kind to lend me her buttons, next time I might not be so lucky. But I guess it’s better to learn this early on rather than later.

New Toy: Laser Cutter

This is my first encounter with the laser cutter. I wanted to create something simple and beautiful. I also wanted to create something that I need. I made a mistake in the past of creating something that I don’t need, and now it just sits there in the corner doing nothing. After considering everything, I’ve decided to create a key bowl. My idea is to create an increasingly larger set of rings using the laser cutter, and then glue them together to create the bowl.

I started my first prototype using cardboard. Mainly because it is free and it is very forgiving. Since the cardboard is pretty thick, for my first prototype I am using only three rings.

First cut in the laser cutter
First prototype made out of cardboard

The first prototype was a success! It looks exactly like how I wanted it. It gave me the confidence in moving forward with the material I want for the final product – wood.

Since the wood that was available to me was not as thick as the cardboard, I tripled the number of rings from 3 to 9. I also enlarged the bowl a bit because the prototype was too small.

Final material after cutting

After cutting the wood on the laser cutter, I glued them all together using wood glue applied with a paintbrush. After letting it try for 12 hours, I have to say I am very happy with the final result. I decided not to paint or finish the wood because I really like the gradient that the laser cutter left on the wood. I am definitely going to use this bowl every day.

Prototype and final product side to side
Final Product after gluing

Photo/Postcard Holder

Today’s fabrication project is to create five of something. I decided to create a photo/postcard holder out of wood.

My first thought is to cut up a long piece of hardwood into pieces and cut the slits for the photo later on. This proves to be a terrible mistake. It turns out that I can only cut the slits when the wood is still in a big piece. The miter saw that I was using is too dangerous to be used on a small piece of wood. Back to the drawing board.

Original cut wood (the mistake), I made six of these

After some consultation with Ben, I decided to cut the slits first using the miter saw and only after the slits are cut, I’d cut the wood into pieces. Unfortunately, I made the mistake of only getting 2.5x the amount of material that I think I’d need (the rule of thumb is to get 3.14x the amount of material). This resulted in one of my pieces to be smaller than the others. After cutting it up, I sanded the holders using the belt sander to round off the sharp edges and smooth out the surface.

Miter saw setup
The holders after they are cut-up and sanded with the belt sander

Luckily, after this stage, Jake offered up some of his wood stains so I didn’t have to buy my own. I tried it out first on my previously cut wood to see how the color would turn out. After I’m feeling confident, I painted it on my holders. After letting it dry for 12 hours, I gave the holders some final sanding with a fine-grit sanding sponge. The final product looks pretty good!

Me staining the wood with Jake in the background
The finished product, notice how one piece is a bit smaller than the others. Can you spot it?
Finished product working in action

As you can see, the finished product looks great. I’m really happy with how it turns out (other than the mistake). If there’s anything that I learned from this exercise, is to truly abide by the “Multiply everything by pi rule” – when acquiring materials, always try to get 3.14 times the amount of material that you think you’ll need.

Flashlight (well, sort of)

A rat wearing a hardhat with lights
Inspiration

I took inspiration from The Underminer when building my flashlight. I wanted to make a flashlight that is integrated into a hard hat.

My first idea was to take apart an LED bike light, drill some holes into the hard hat, mount it, and wire it up. However, the plan soon failed because I accidentally destroyed the circuit that housed the LED lights with my soldering iron. What I ended up doing was to connect a series of LEDs and make my own circuit. I also built a reflector out of cardboard and aluminum foil to direct the light forward and amplify the light rays.

Original LED light
Taken apart
Fried it

Plan B
Making reflector out of cardboard
Wrapped it in tinfoil

Final product