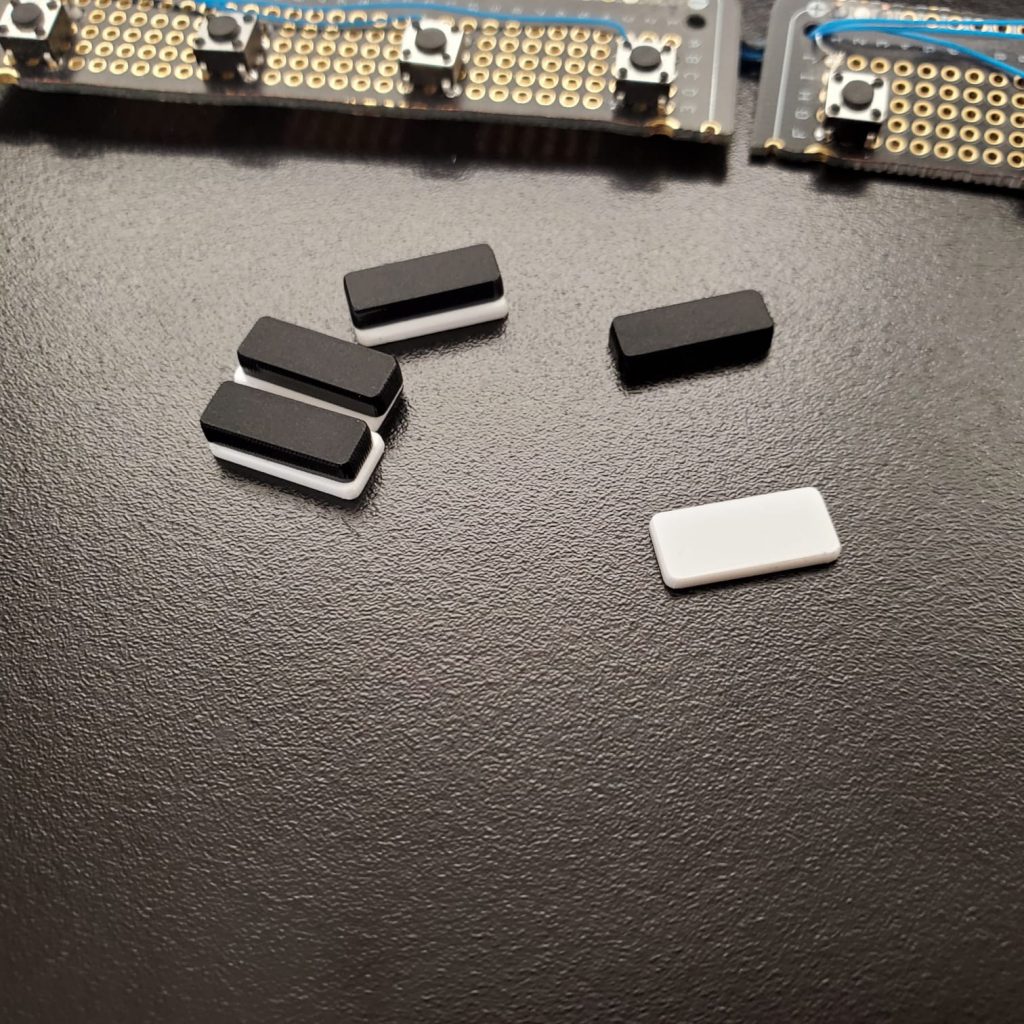
I’ve made some updates to the Drunken Walk Instrument.
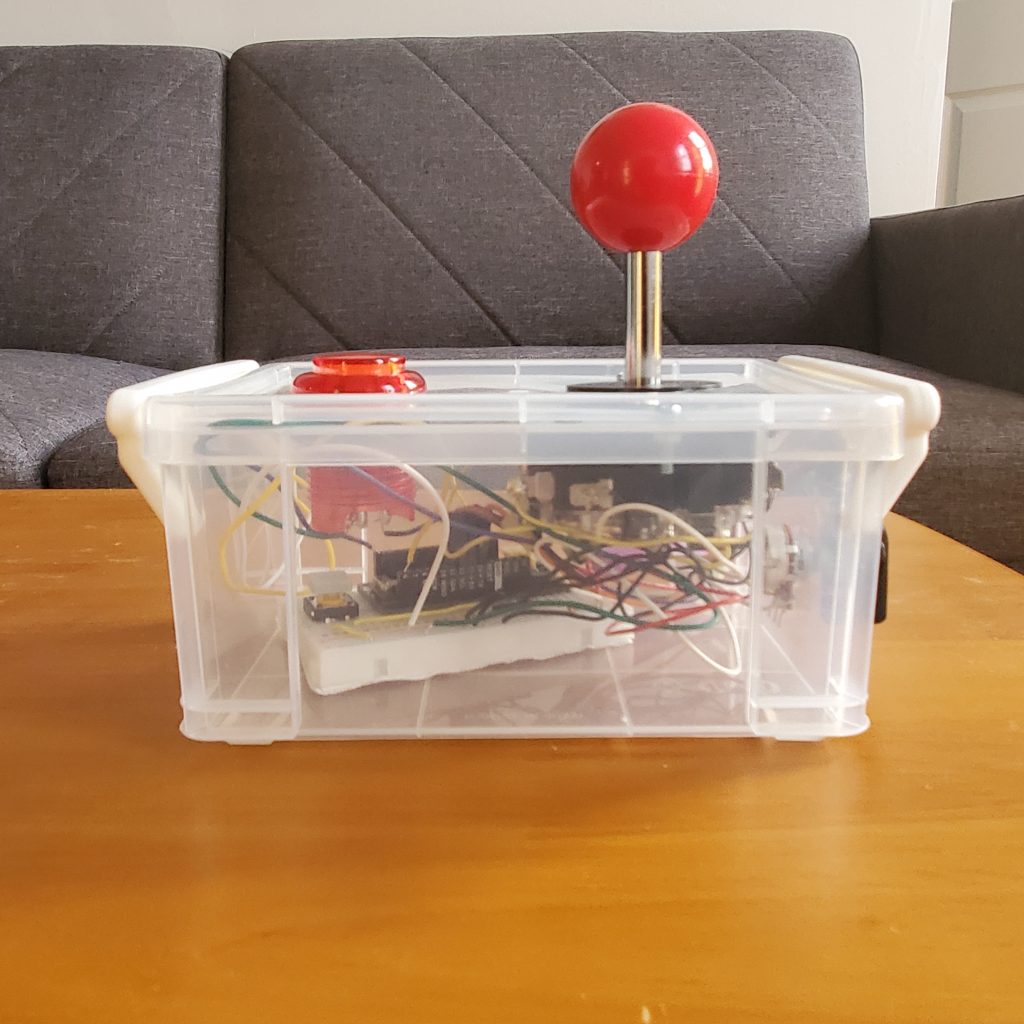
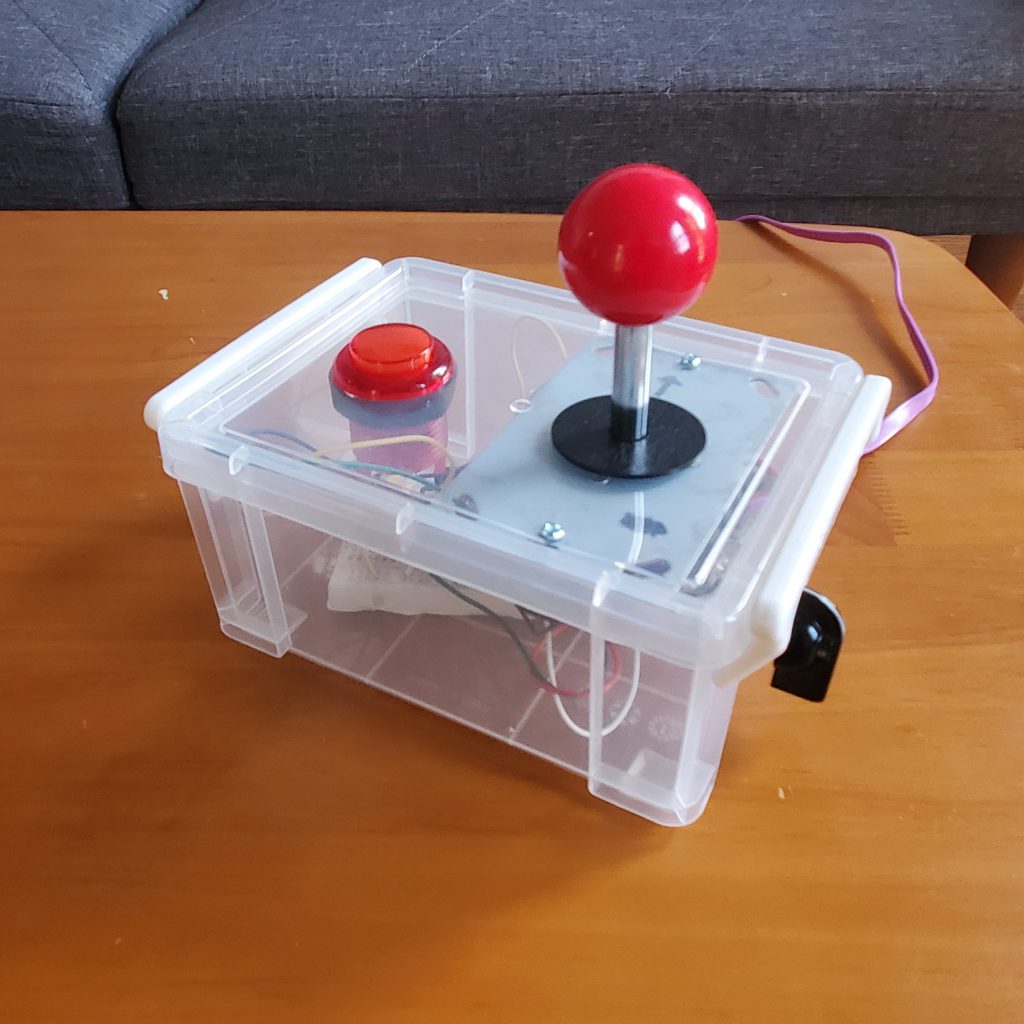
I’ve now included a knob on the side which controls the tempo of the music being played. Ideally, this functionality is better served with a slider, but we make do with what we have.
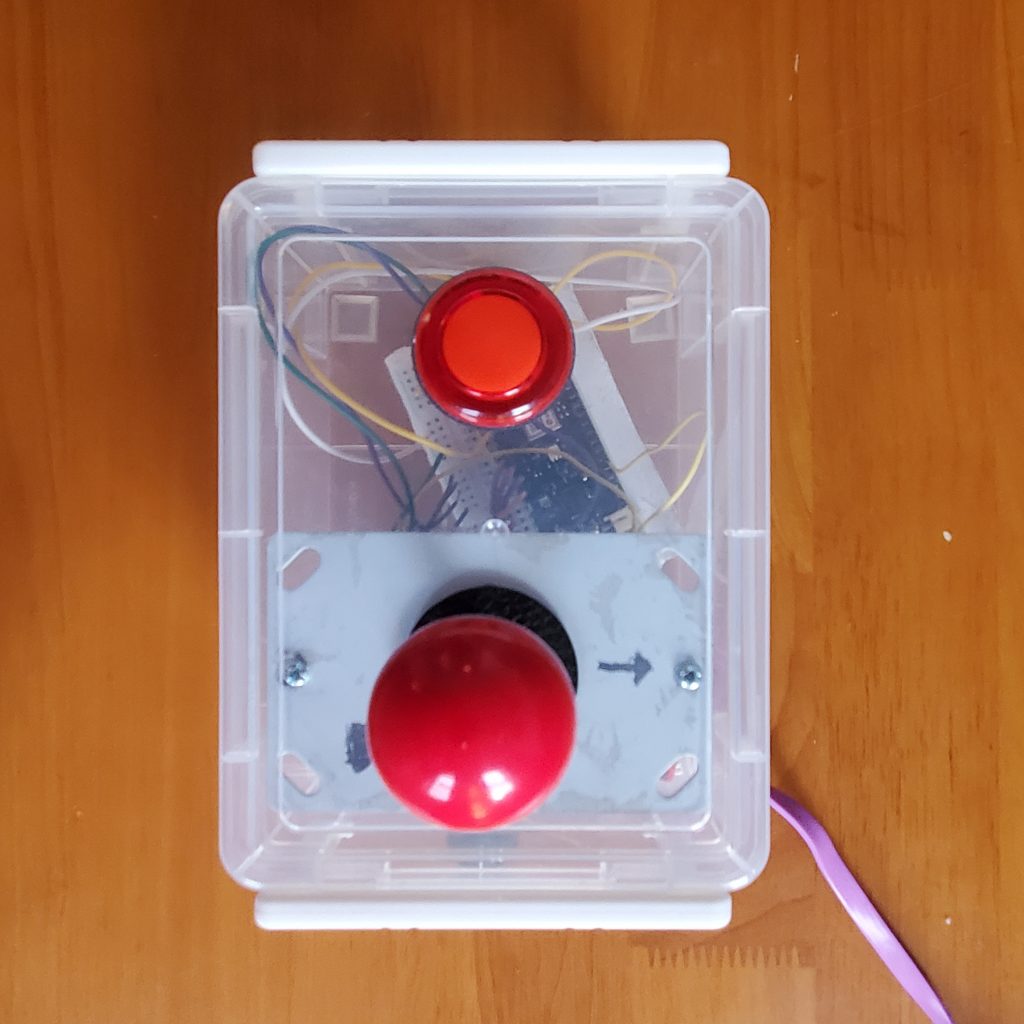
The LED on the main button now lights up in conjunction with the notes. Previously it is simply always on when a note is playing.
Previously, tapping up/down will make the chord move up/down by one-half note. This goes against the idea of a drunken walk where everything has a random element to it. Now, holding up/down will change the chances of the chord going up/down. The rules are as follows:
If neither up/down is held, there’s an equal chance of the chord going up, going down, and staying still.
If up us held, there’s a 70% chance of it going up, 20% of it staying, and 10% of it going down.
If down is held, there’s a 70% chance of it going down, 20% of it staying, and 10% of it going up.
Hopes and Dreams
Now that it got to this stage, I realized that the enclosure and tangible controls are not the best for this. I think something that’s close to a PlayStation/Xbox controller would work better.
Use an analog joystick instead of a digital one.
Adding a sustain button would be nice. Currently, all notes are sustained. A more granular control will produce better music.
Adding a mechanism to change the chord would also be nice. Currently, it only plays the major eleven chord, switching between that and a few other major chords could provide some variety.
I’ve gotten to a point where the instrument is making the sounds that I want. This involves going through music theory tutorials and trying out notes here and there. Yay! (code on GitHub)That is really it, just the one oo
That’s it, just one good thing
Bad things
My joystick “broke” as I was playing with it. The threads on the two screw-holes that held it to the mounting plate broke off. Luckily, with some careful placement of hot glue, it now holds together. (I’m pretty bummed that I didn’t document this process, now that I’m reflecting on it, it actually was a genuinely fun thing to figure out). If it makes sense, I used hot glue to act as a plastic plug to give friction and to expand to the nooks and crannies of the joystick.
I just now realize that I want to have an analog control of the tempo. The thing to build for next week I guess.
Currently this only works with midi instruments that fade off like a piano. I still haven’t figured out how to send a note-off-signal asynchronously in Arduino. Maybe create a queue of notes to be turned off, then on a separate interval time executes the turning off of them?
Over the past few weeks, I learned a little bit about general music theory. One idea about it that I found interesting was that although music is generally guided by a series of rules and structures, the brilliance of it comes from the fact that it is unexpected. This got me thinking if I can integrate randomness in music to create that level of unexpectedness while still adhering to a level of structural rules. Moreover, I want to have the user be able to have some level of control, not just pure randomness.
I fell in love with this idea of “directed randomness”. An intoxicated individual can a lot of times have an idea of where they would walk, where they would move their feet. However, due to their intoxication, they have random tendencies to sway here and there, so they can’t precisely move their feet to the exact point they want. I’d like to implement that idea in a musical instrument.
I created a simple (non-musical) sketch as sort of a reference to what I want to do musically. Call it a proof of concept if you will.
Since I think it fits well and that we’re all productionally-challenged at the moment, I plan to utilize an enclosure that I’ve made previously.
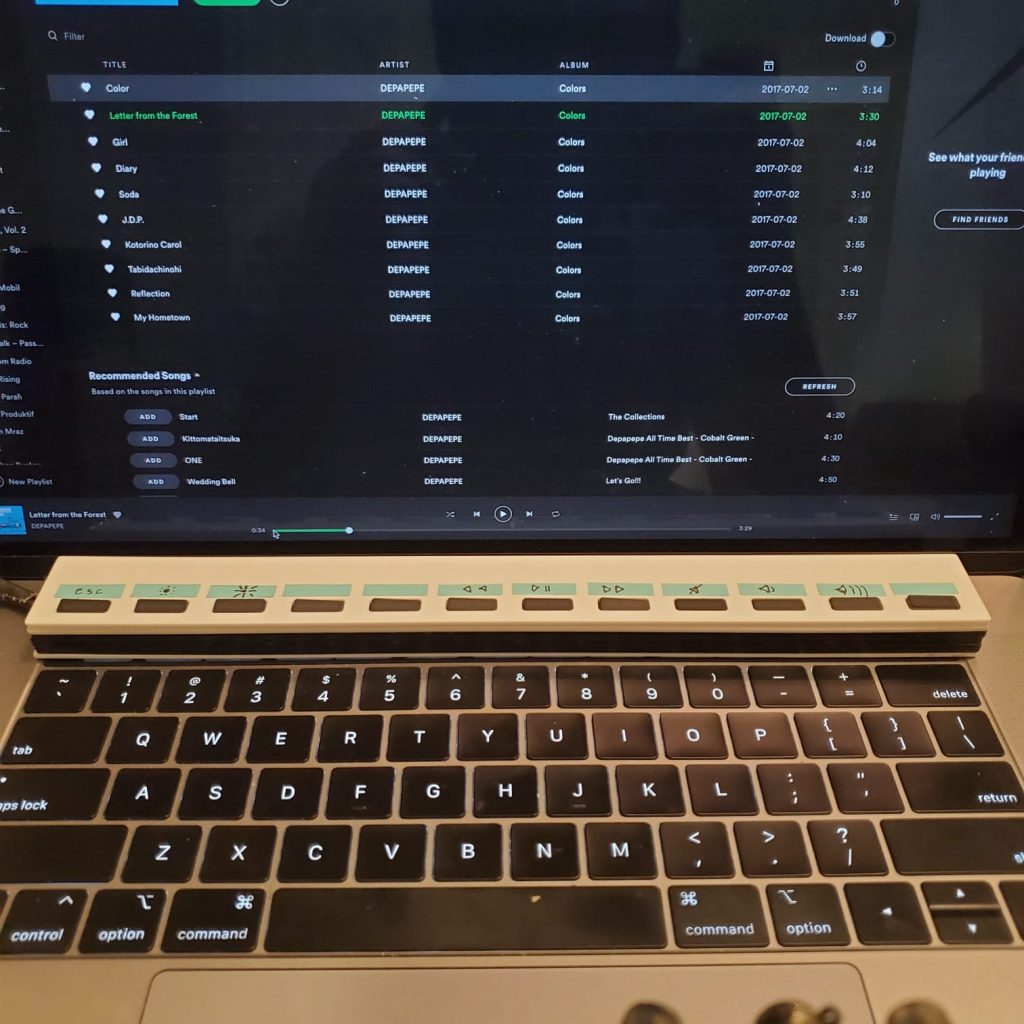
So I own a 15in MacBook Pro with the polarizing touch bar. Some people love it, some people (myself included) hate it with a passion. The lack of tactile controls results in so many accidental touches, and if you are in the terminal a lot (which I am), the lack of a tactile escape key is simply unsatisfying. Thankfully Apple fixed the escape key in the new iteration of the MacBook Pro, but sadly I am but a poor grad student and managing money is a key aspect of my life now.
The Project
This project is for the creation of a tactile touch bar replacement. It keeps the functionality of my current touch bar, with a tactile feel.
I utilized the Arduino HID Project to create this touch bar. The library allows the Arduino MKR 1010 to act as a USB keyboard. I simply tell it to send a certain keycode and the computer will act as if a certain key is pressed on the keyboard.
The difficulty I faced when I was developing this was to find the right keycode for the things that I want. Some of them are documented, whilst some are not. To do this, I wrote up a simple script that will send all of the keycodes one by one. Through this, I was able to find the keycode for turning my screen brightness up and down. However, I still wasn’t able to find the keycode to turn my keyboard backlight up and down, and the keycode to lock my screen.
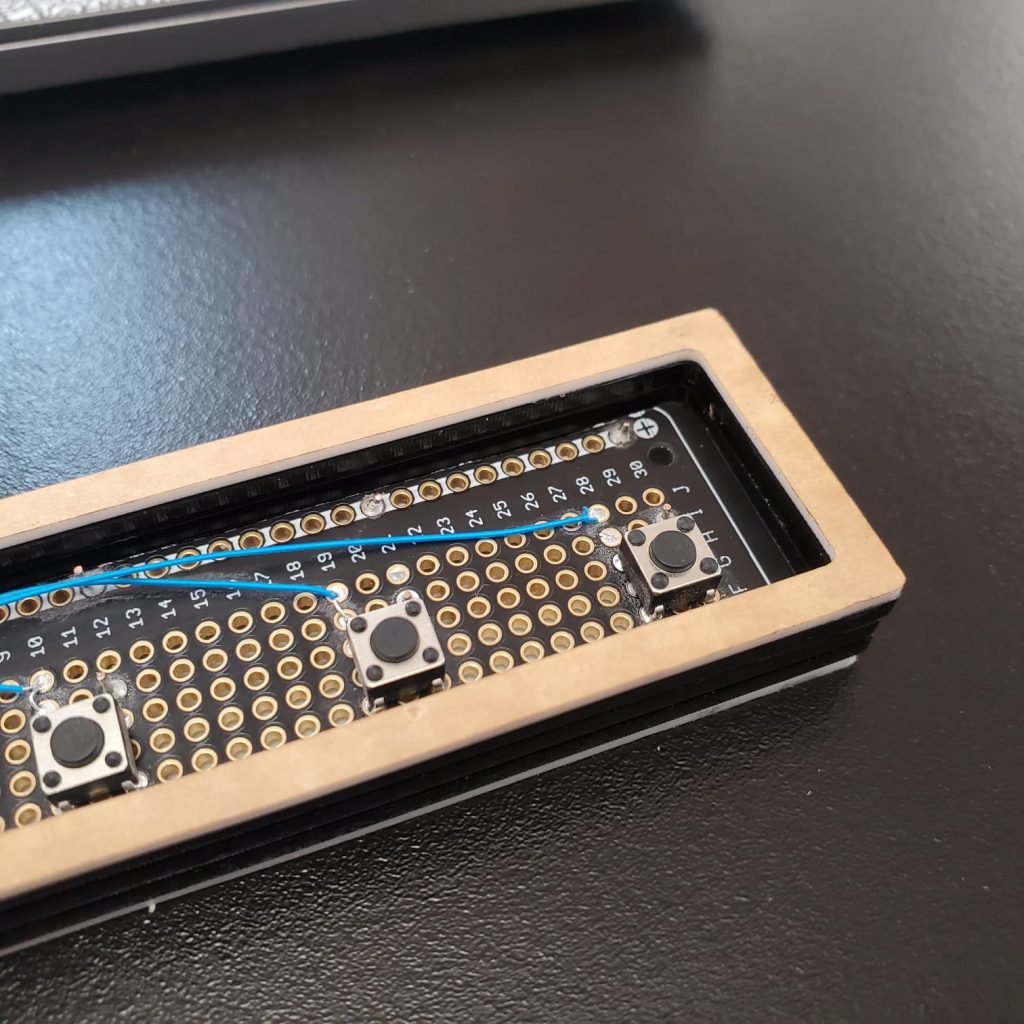
On the circuit side, it’s much easier. It’s simply 12 buttons connected to the digital inputs of the Arduino. Very simple.
Some compromises I made:
I still couldn’t find the keycodes for turning the keyboard backlight up and down
I still couldn’t find the keycodes to lock my mac
The Fabrication Process
This was very difficult for me. I had the idea of creating a thin small piece the exact size of the original touch bar with a custom board inside. There were a few problems with my original idea:
Learning Eagle proved to be too large of a barrier of entry for me. Though I think this will still be manageable if I put a significant amount of effort into it.
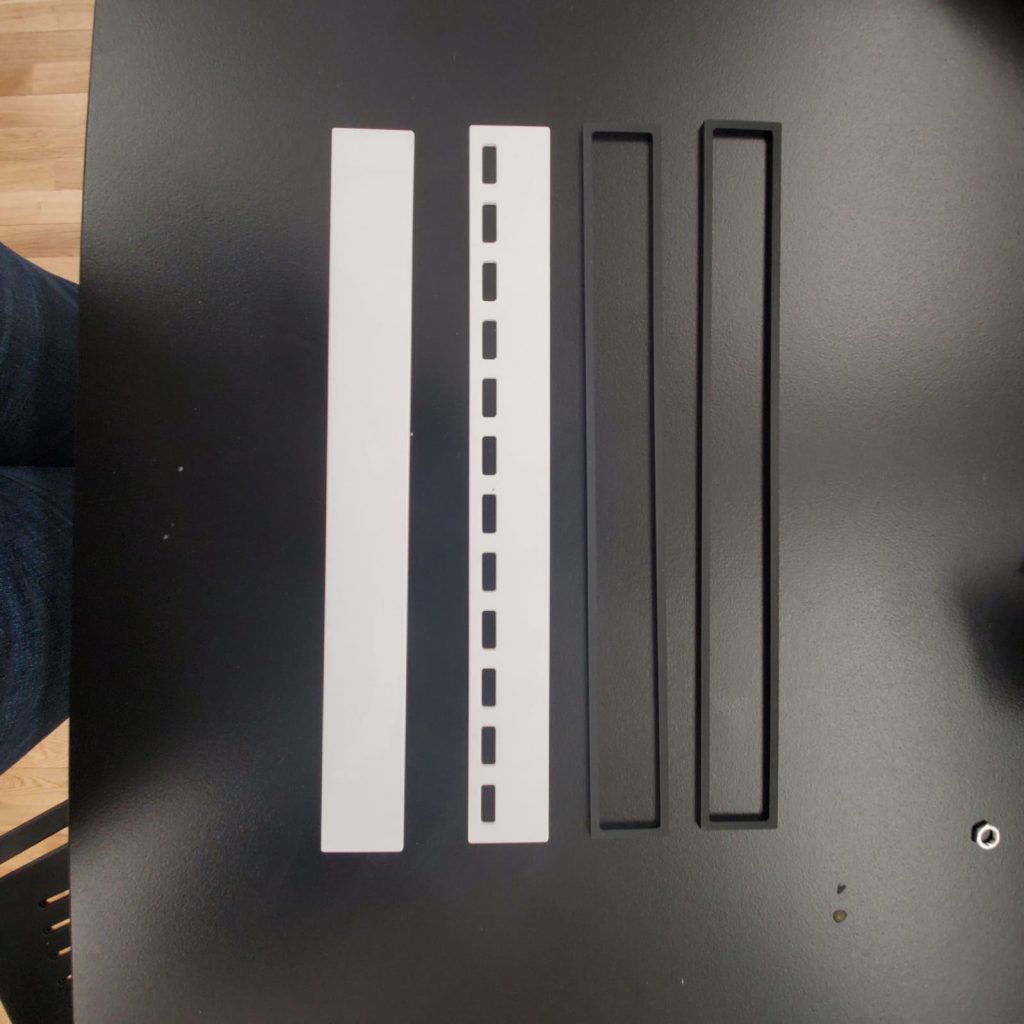
The super small and thin buttons I wanted to use didn’t fit my protoboard.
They keycap mechanism added a significant amount of thickness to the product.
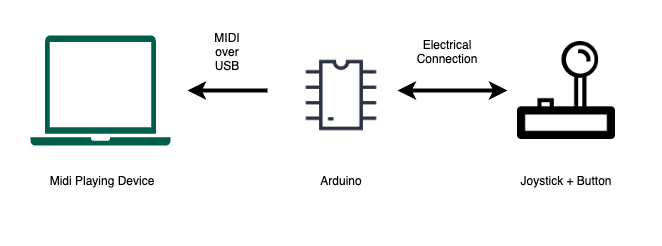
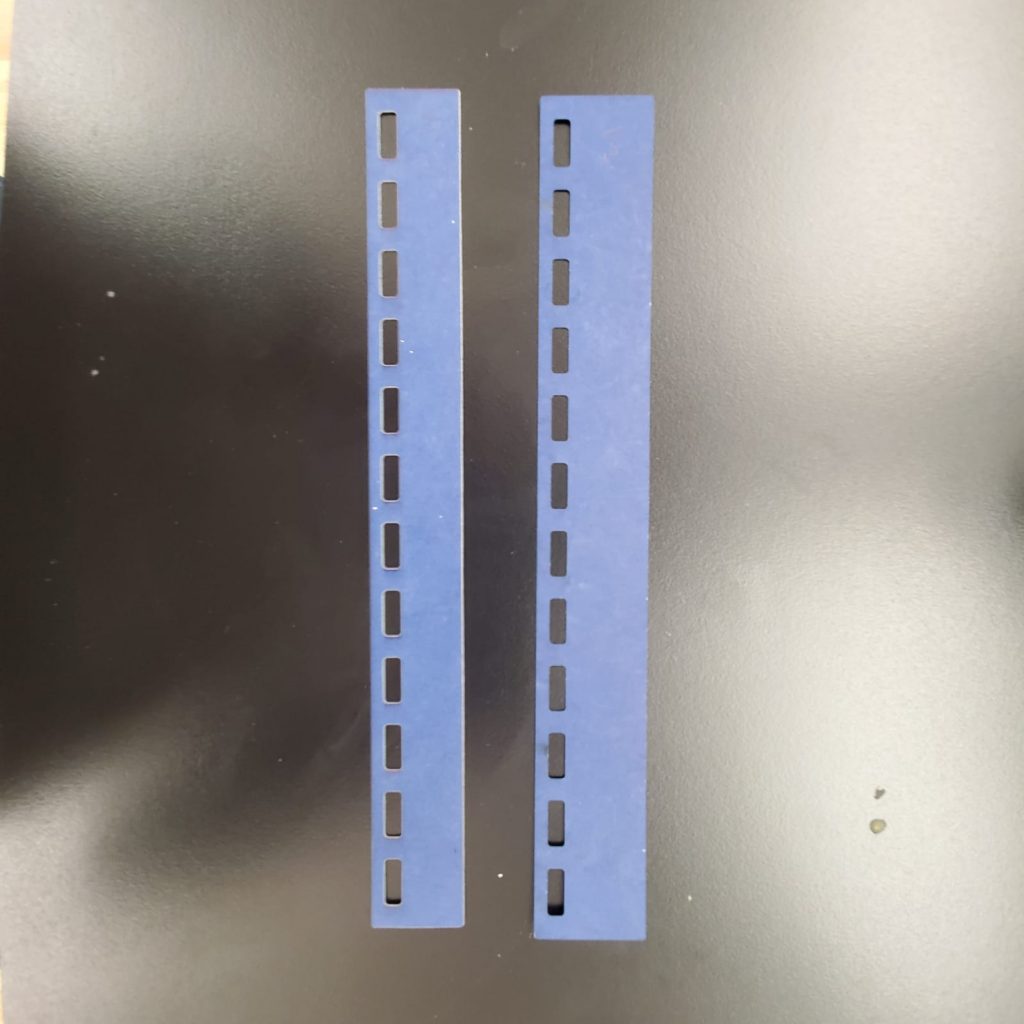
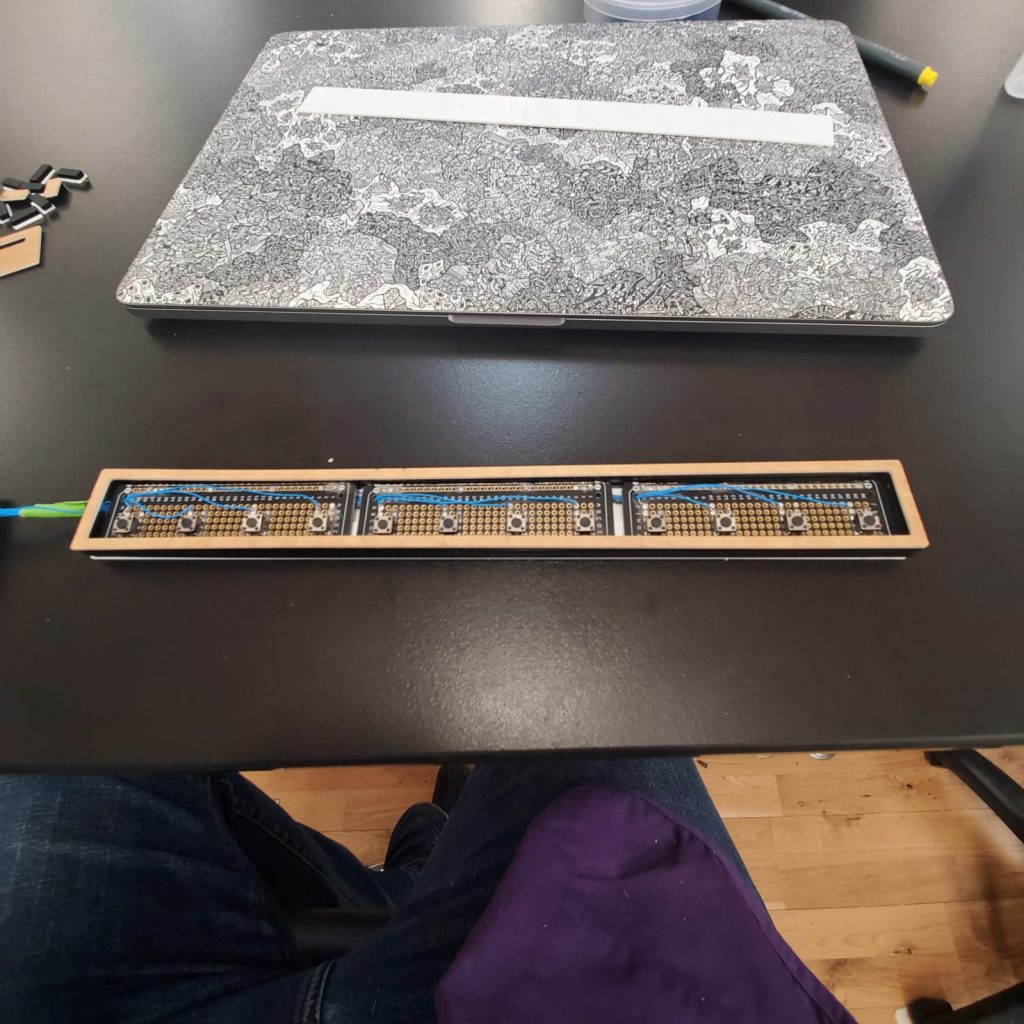
After some back and forth, I landed on the decision to build it with acrylic that is cut on the laser. It has a bottom piece, middle piece, and top piece (please see pictures on the bottom of this page for more detail). Thankfully I was able to do it on “turbo mode” before the ITP facilities became unavailable.
Some compromises I made:
I didn’t get a perfect fit on my keycaps, so it wobbles a bit.
I didn’t get to paint it. I was going to paint it with metallic silver paint. Ideally, I wanted the body to look exactly like the MacBook brushed aluminum body.
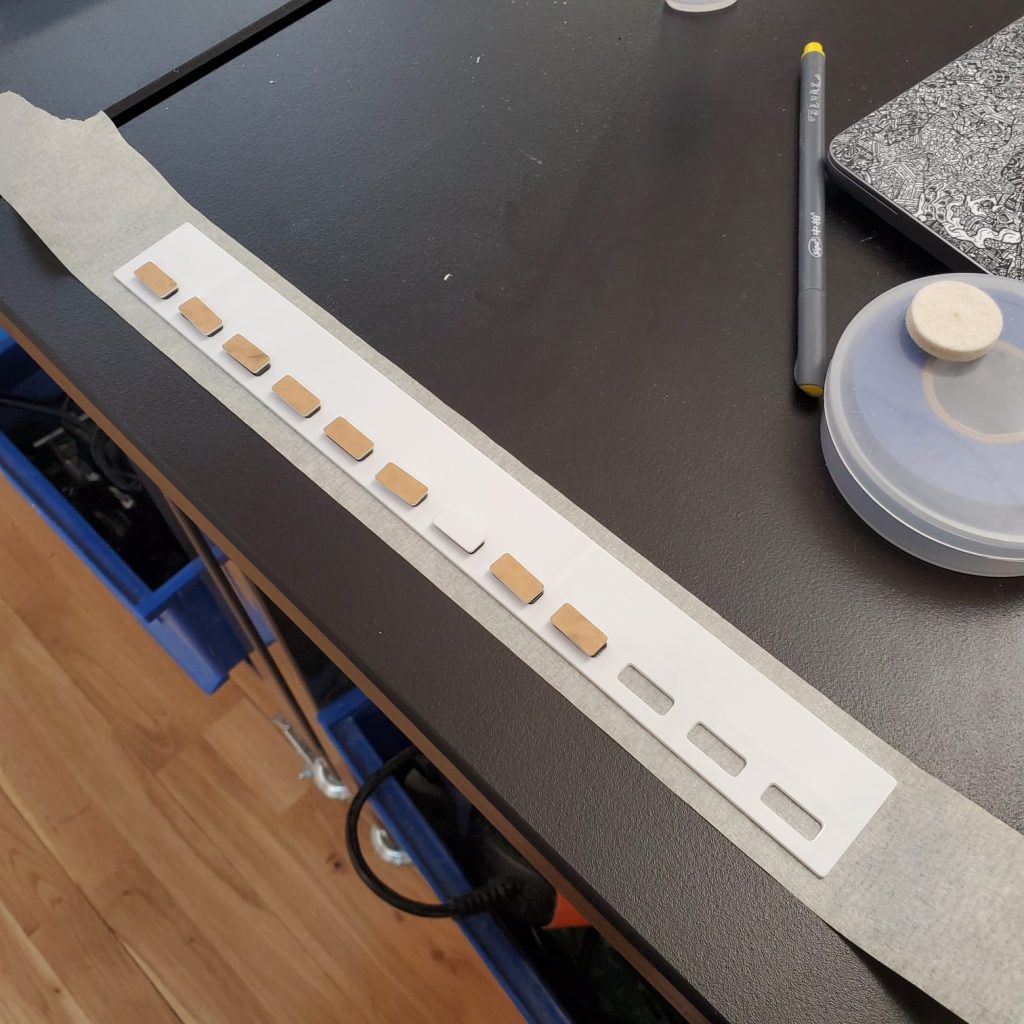
I didn’t get to engrave the button labels on the keycaps. Instead, I made a makeshift label using sticky notes cut with a hobby knife.
I had to glue the whole thing down. Ideally, I wanted to create some sort of friction fit mechanism using the mill. The motto of “Screw it, don’t glue it” turned into “Screw it, I’m gonna glue it“
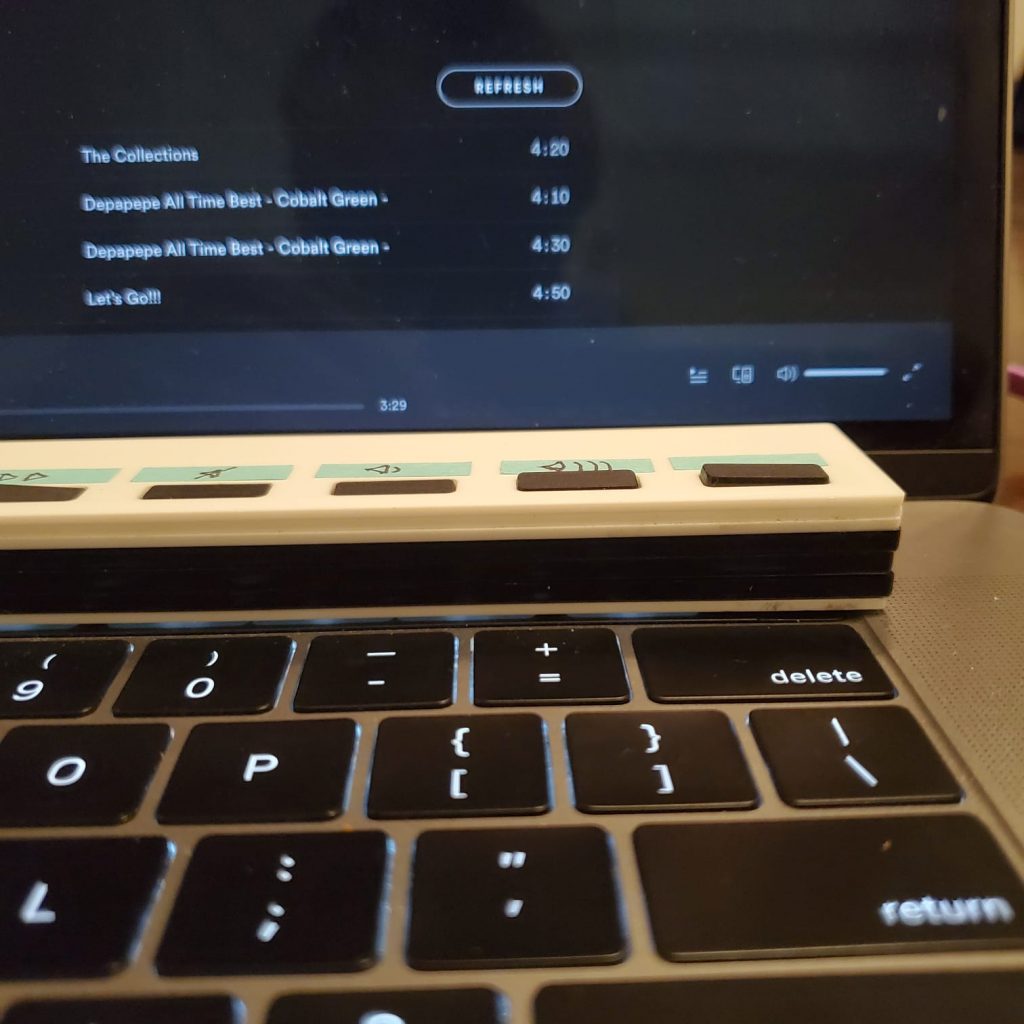
Project in Action
Touch Bar in Action
Pictures
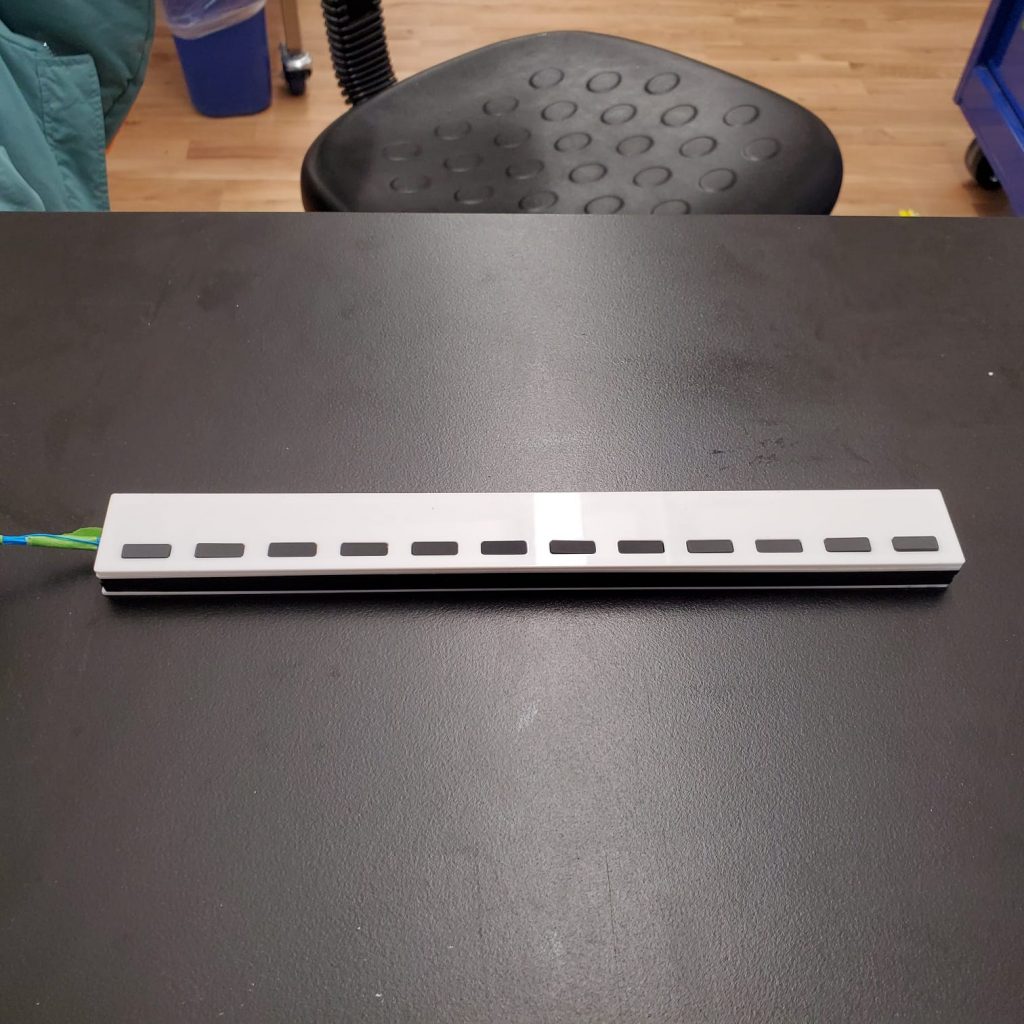
First PrototypeFront, back, and middle piecesKeycaps, made by gluing two pieces of acrylic togetherProtoboards put inside assembled enclosure (without the top)Closer look at the bodyKeycaps along with the top part of the enclosure. I use tape to keep them in place.Enclosure fastened with acrylic glueTouch bar sitting on top of the keyboardIt’s still pretty thick
Reflection
All in all, I am mildly happy with this project. Considering everything that is going on, I’m happy that this project works and it does not look too bad. Also, I am happy that I was able to perform the fabrication part of it before the facilities became unavailable.
Did I achieve what I wanted to achieve? Probably about 70% of it.
Did I learn new things? Yes
Is this product a product that I want to use every day? No
Can this product be iterated upon into something I’ll want to use every day? Yes
You know in the past some people set their clock 10 minutes early so that they are not late for things? Well, the issue with that is they are fully aware that the clock is 10 minutes early. At the end of the day, they will still be late for things.
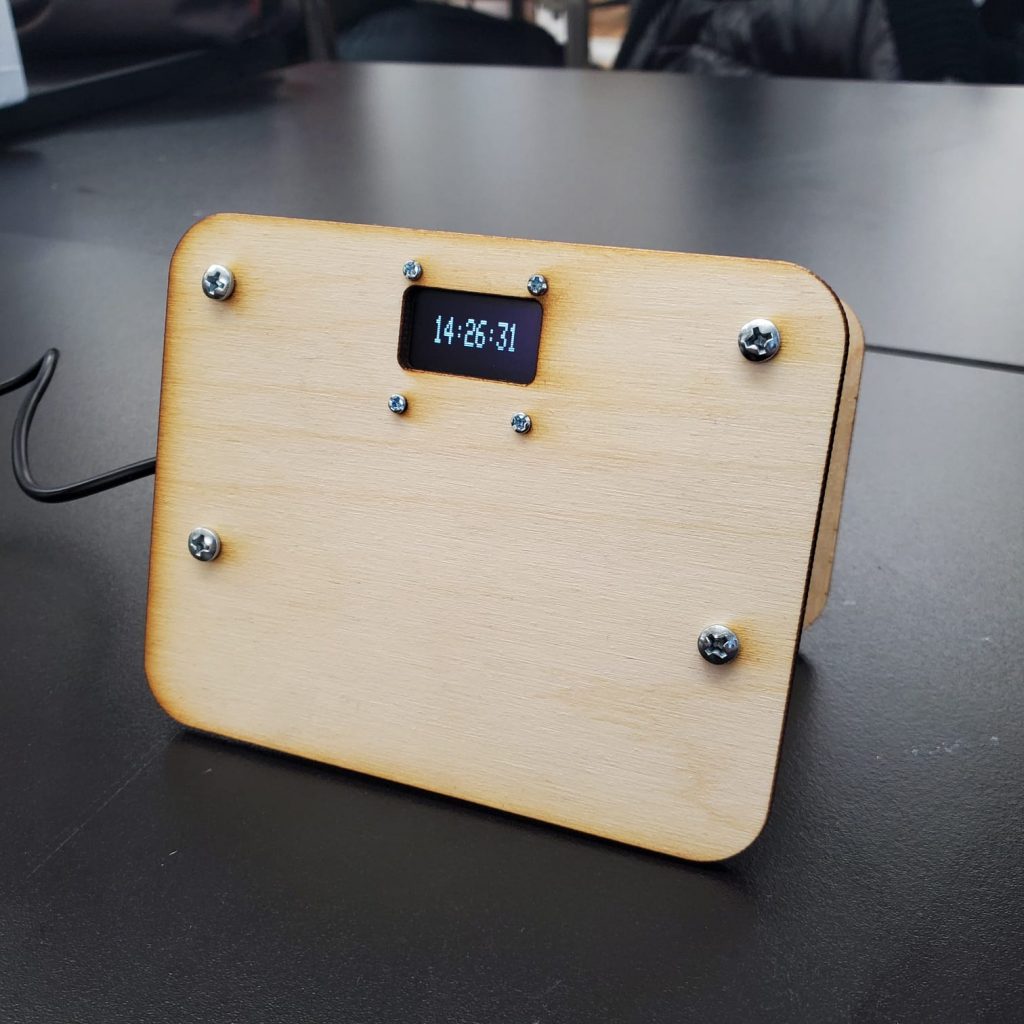
The issue is that people will still know precisely how early their clock is. To combat this, I am making an “Own Time Clock”. The idea is that the clock will always be between 0 to 10 minutes early. Every 13 minutes, the clock will decide how early it wants to be compared to the reference time. This way, the person reading the clock will have no idea how early it is, therefore ensuring some level of earliness.
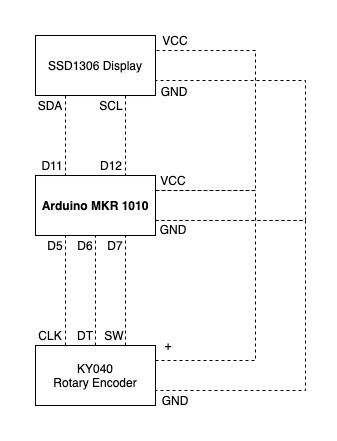
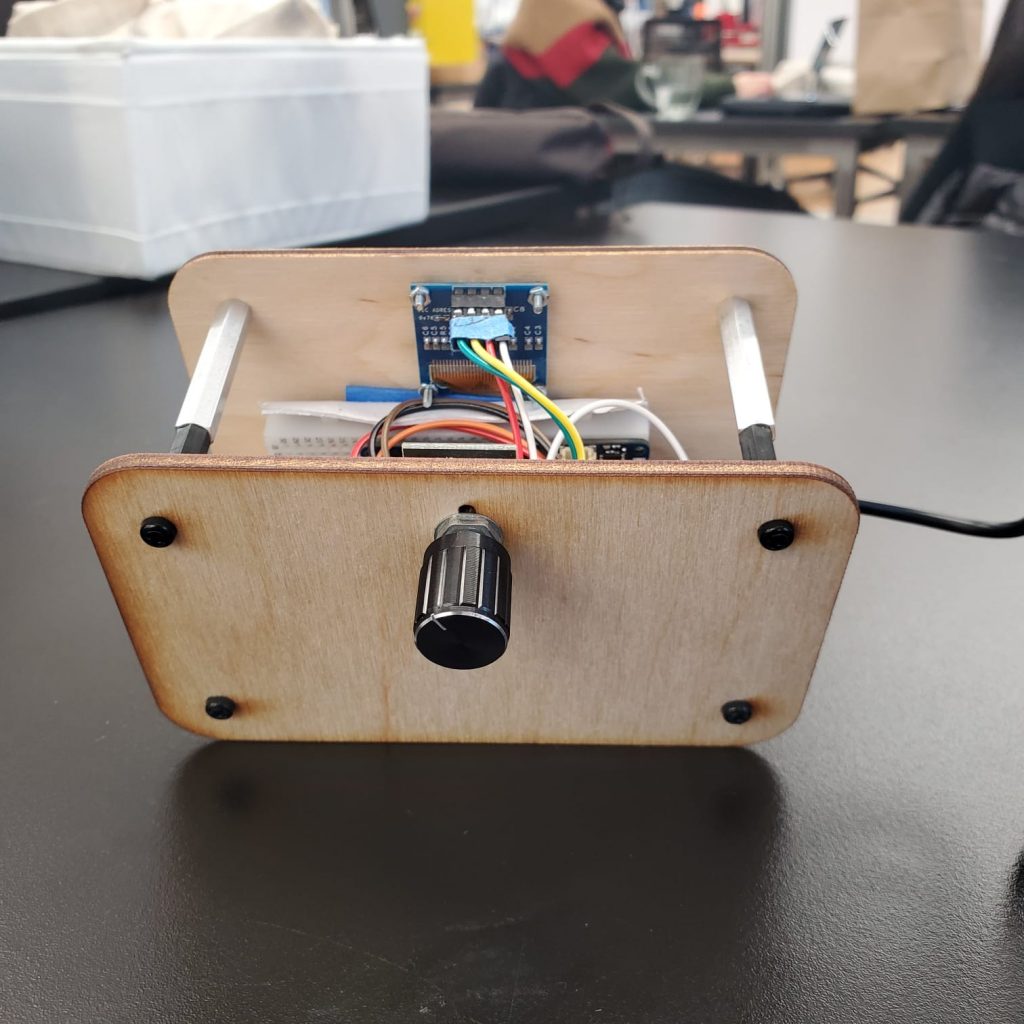
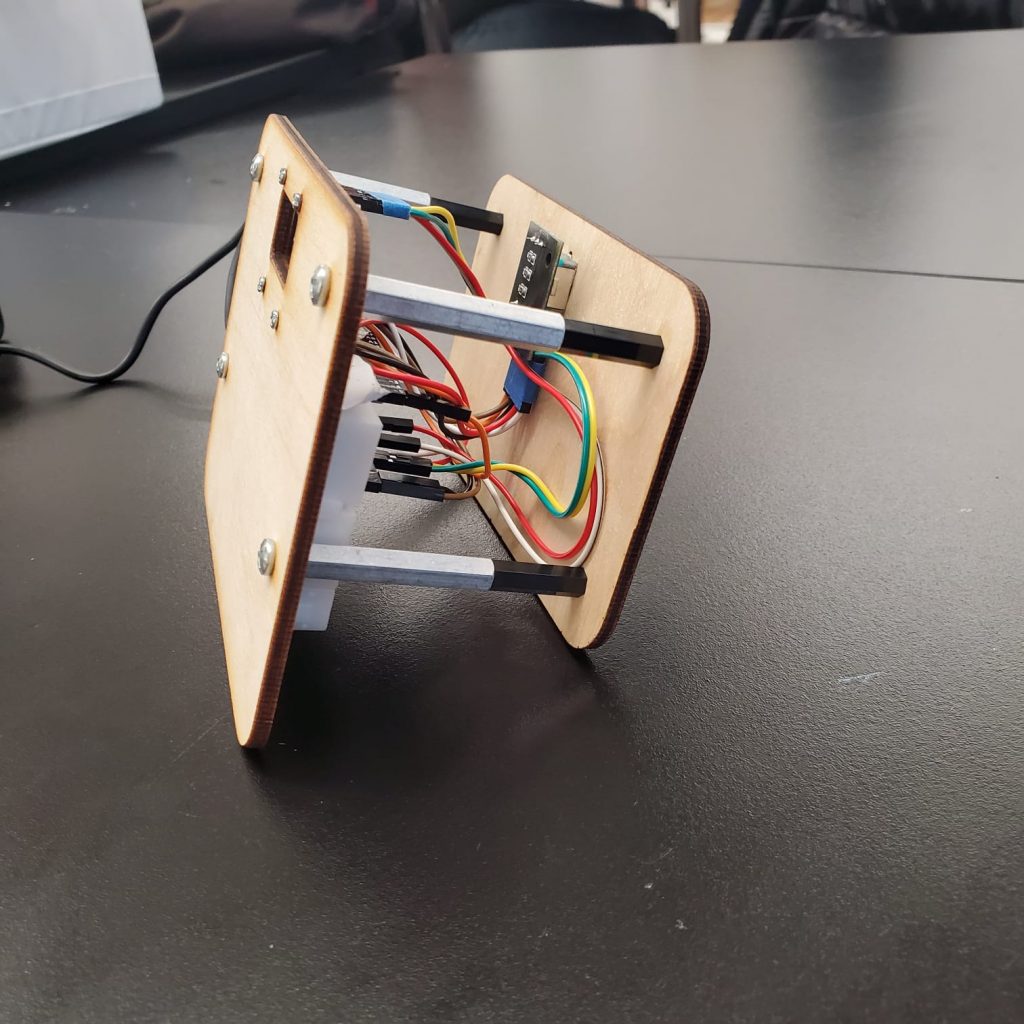
The clock will be controlled by a knob (rotary encoder) on the back. A push in the knob will change the mode, and the rotation of it will adjust the value of the hour, minute, and second on the clock.
Circuit diagram
View from the backView from the frontFrom the side