So I own a 15in MacBook Pro with the polarizing touch bar. Some people love it, some people (myself included) hate it with a passion. The lack of tactile controls results in so many accidental touches, and if you are in the terminal a lot (which I am), the lack of a tactile escape key is simply unsatisfying. Thankfully Apple fixed the escape key in the new iteration of the MacBook Pro, but sadly I am but a poor grad student and managing money is a key aspect of my life now.
The Project
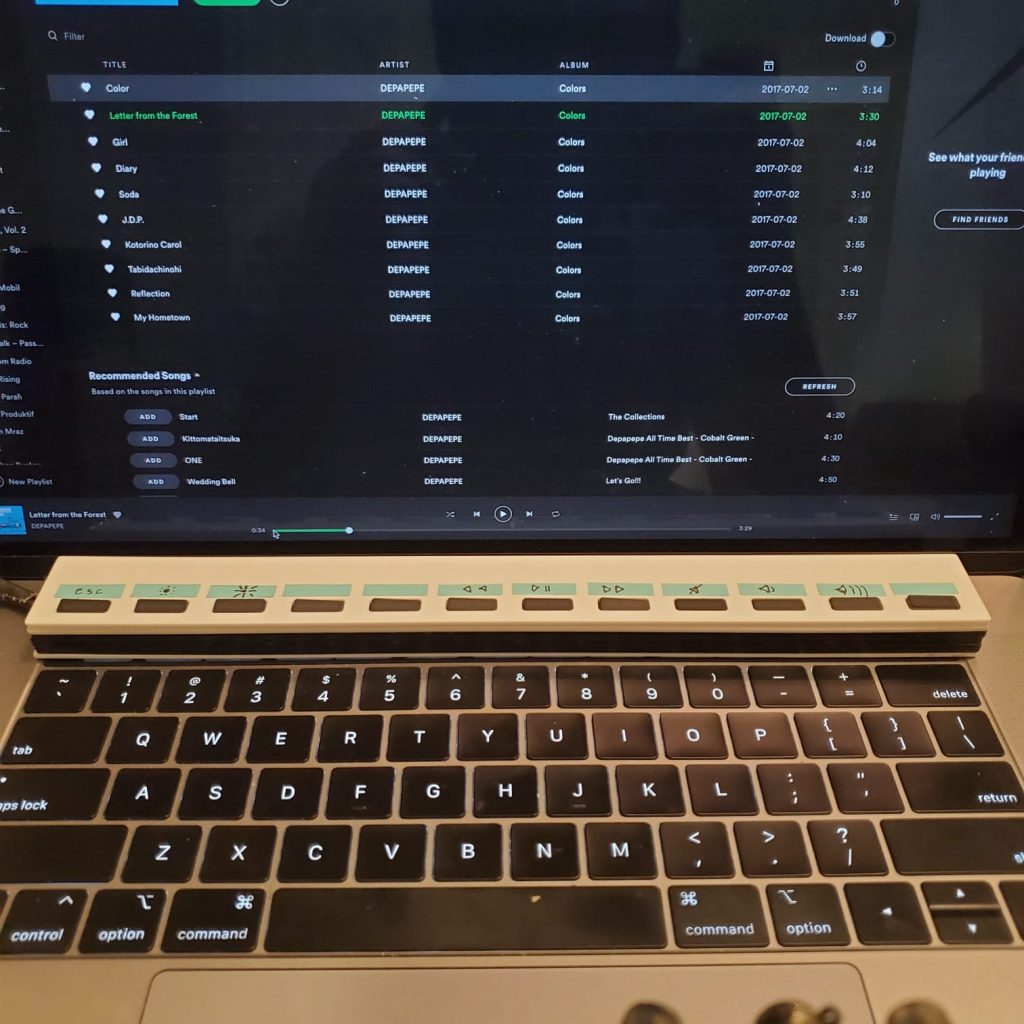
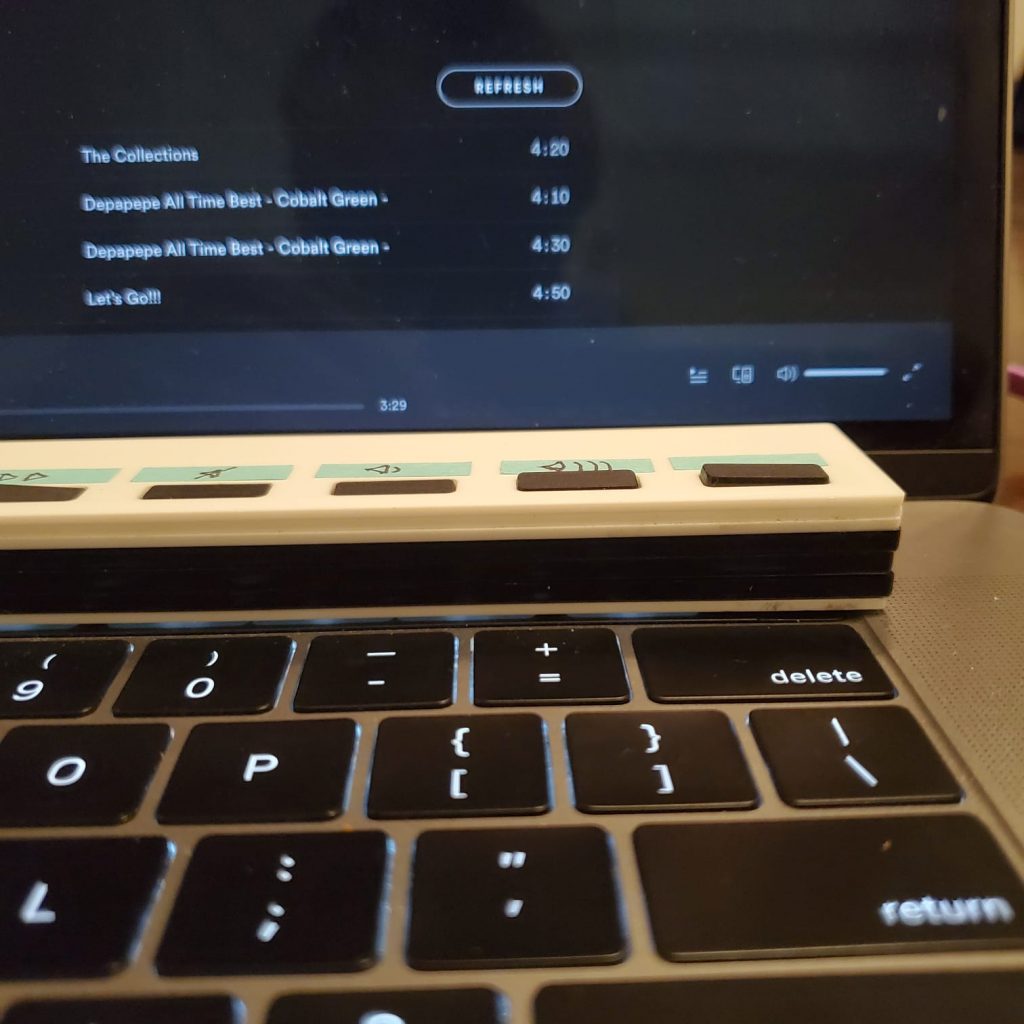
This project is for the creation of a tactile touch bar replacement. It keeps the functionality of my current touch bar, with a tactile feel.
Parts List
- Solderable breadboard
- Arduino MKR 1010 WiFi
- Tactile Push Buttons
- Jumper wires
- Acrylic
Some Links
- Code on Github
- Illustrator Files
- Circuit Diagram
The Computational Process
I utilized the Arduino HID Project to create this touch bar. The library allows the Arduino MKR 1010 to act as a USB keyboard. I simply tell it to send a certain keycode and the computer will act as if a certain key is pressed on the keyboard.
The difficulty I faced when I was developing this was to find the right keycode for the things that I want. Some of them are documented, whilst some are not. To do this, I wrote up a simple script that will send all of the keycodes one by one. Through this, I was able to find the keycode for turning my screen brightness up and down. However, I still wasn’t able to find the keycode to turn my keyboard backlight up and down, and the keycode to lock my screen.
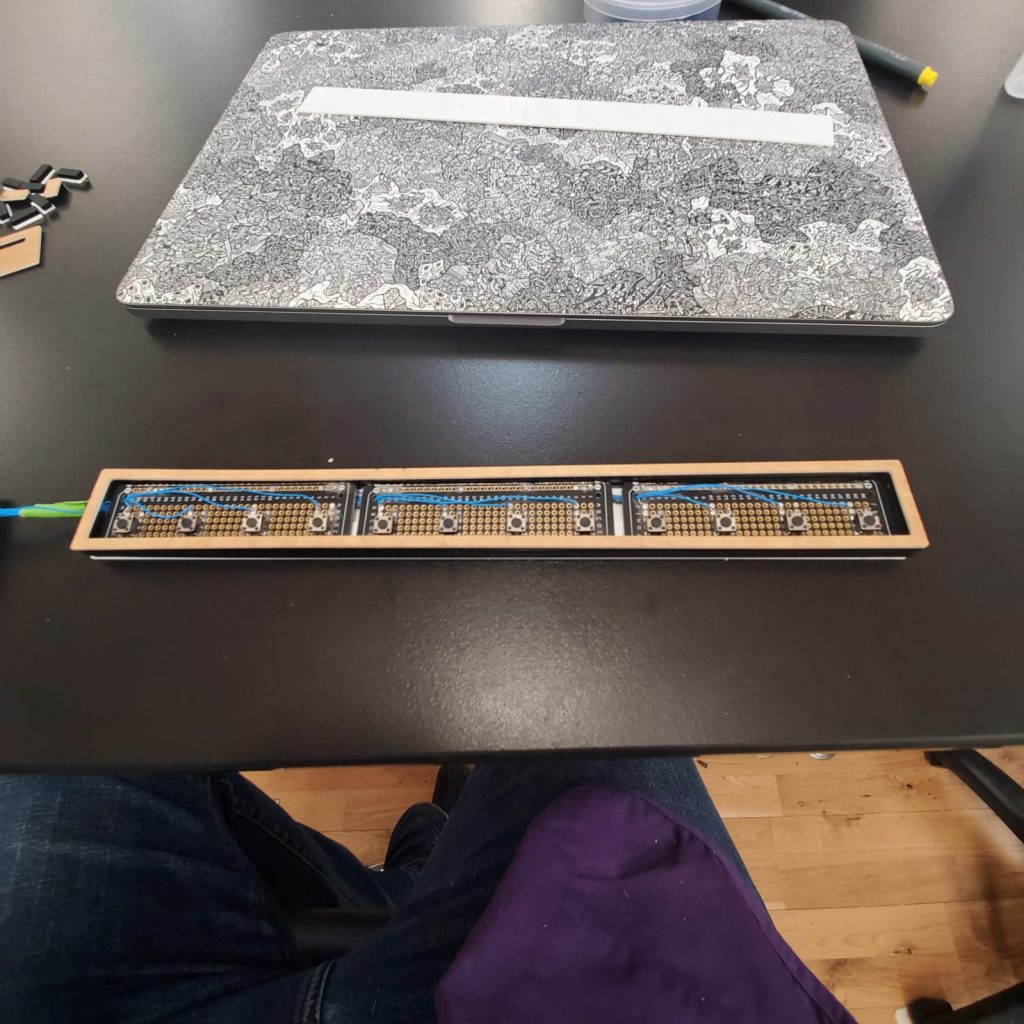
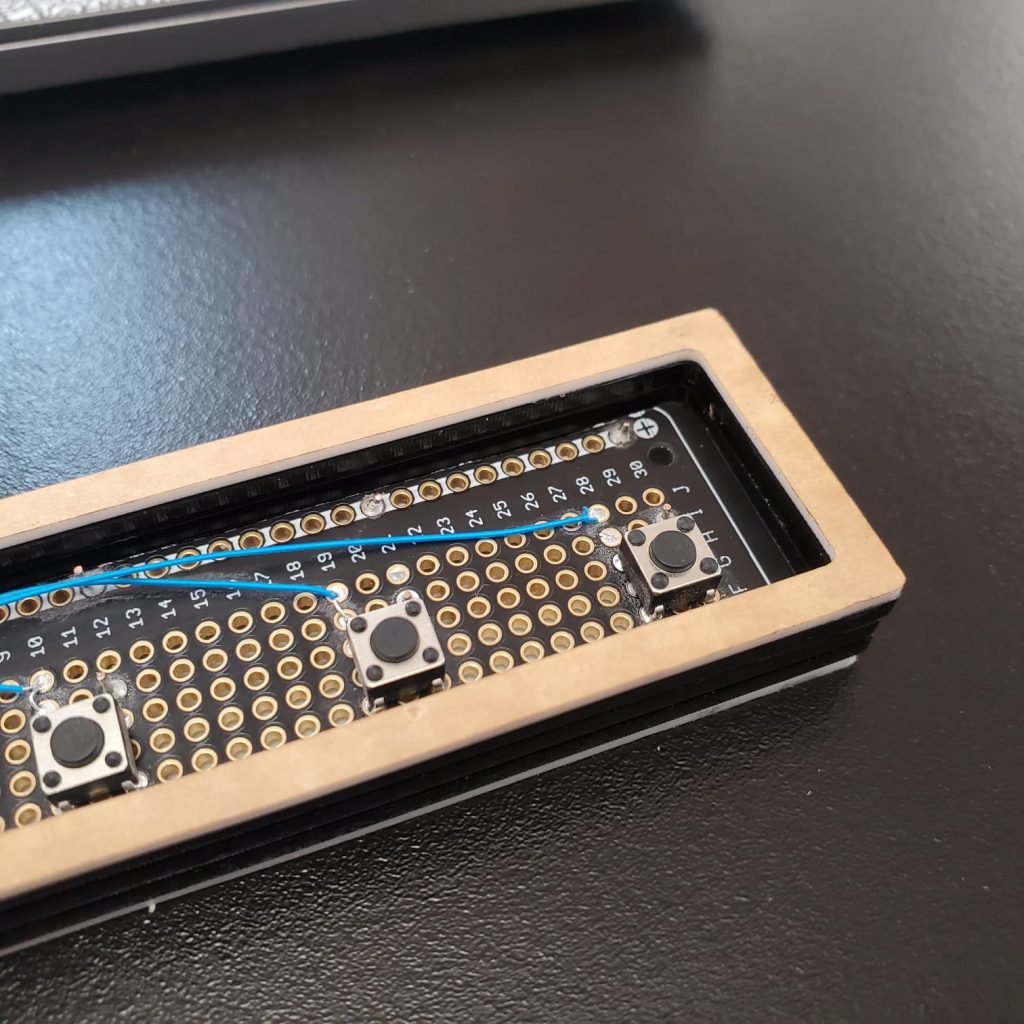
On the circuit side, it’s much easier. It’s simply 12 buttons connected to the digital inputs of the Arduino. Very simple.
Some compromises I made:
- I still couldn’t find the keycodes for turning the keyboard backlight up and down
- I still couldn’t find the keycodes to lock my mac
The Fabrication Process
This was very difficult for me. I had the idea of creating a thin small piece the exact size of the original touch bar with a custom board inside. There were a few problems with my original idea:
- Learning Eagle proved to be too large of a barrier of entry for me. Though I think this will still be manageable if I put a significant amount of effort into it.
- The super small and thin buttons I wanted to use didn’t fit my protoboard.
- They keycap mechanism added a significant amount of thickness to the product.
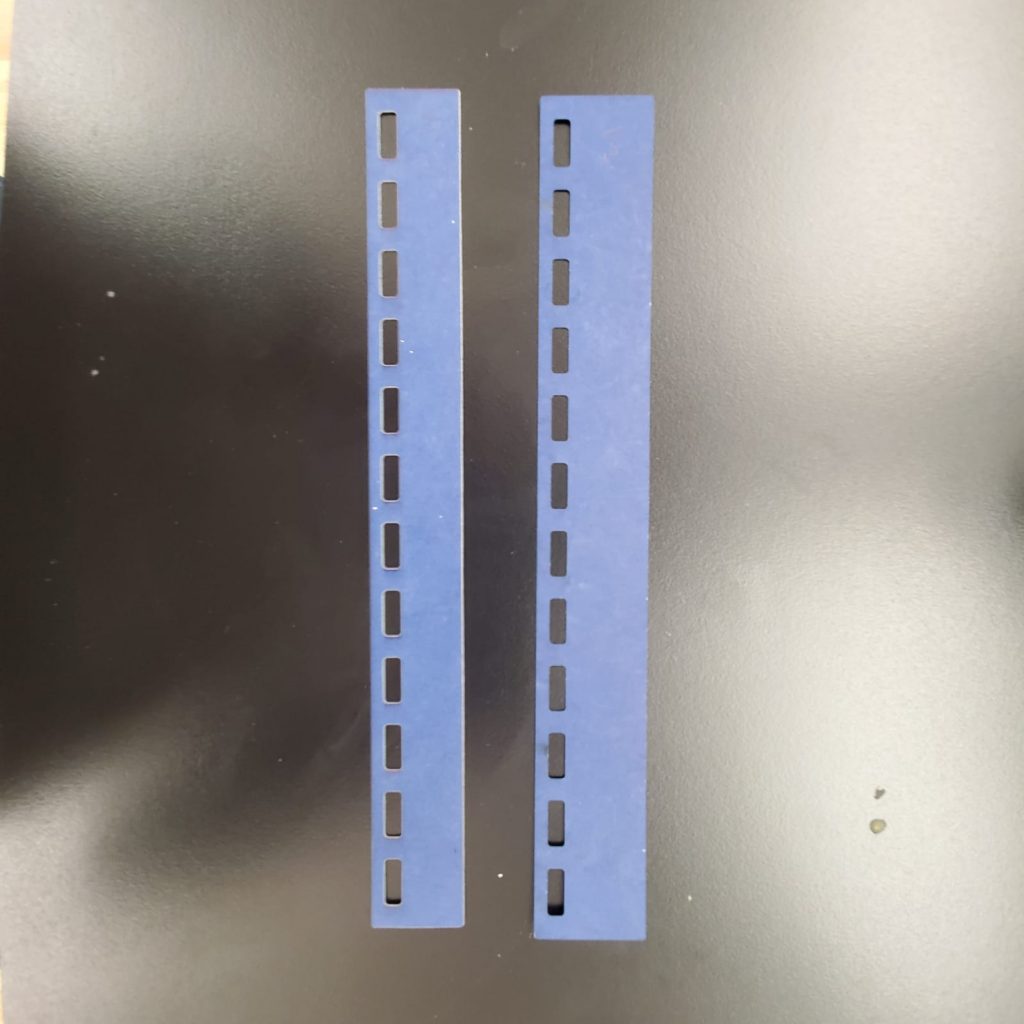
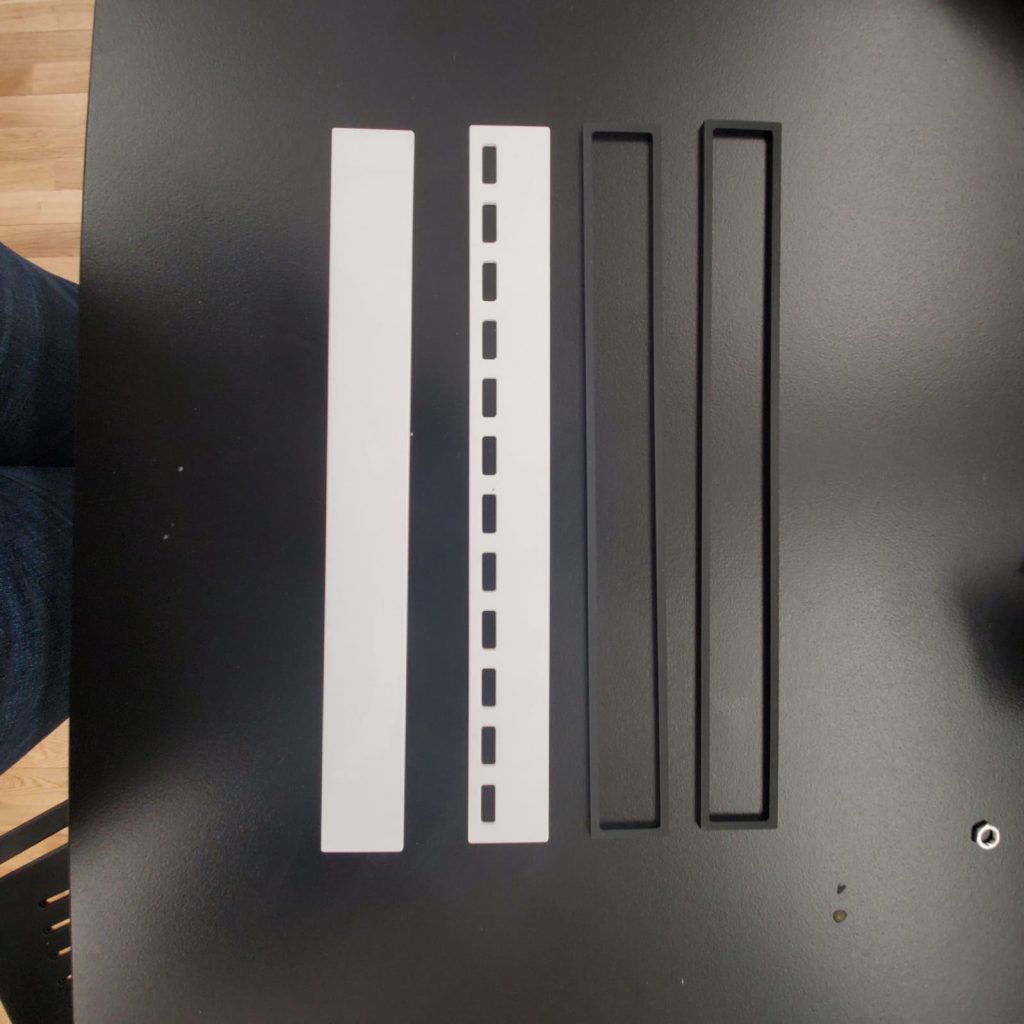
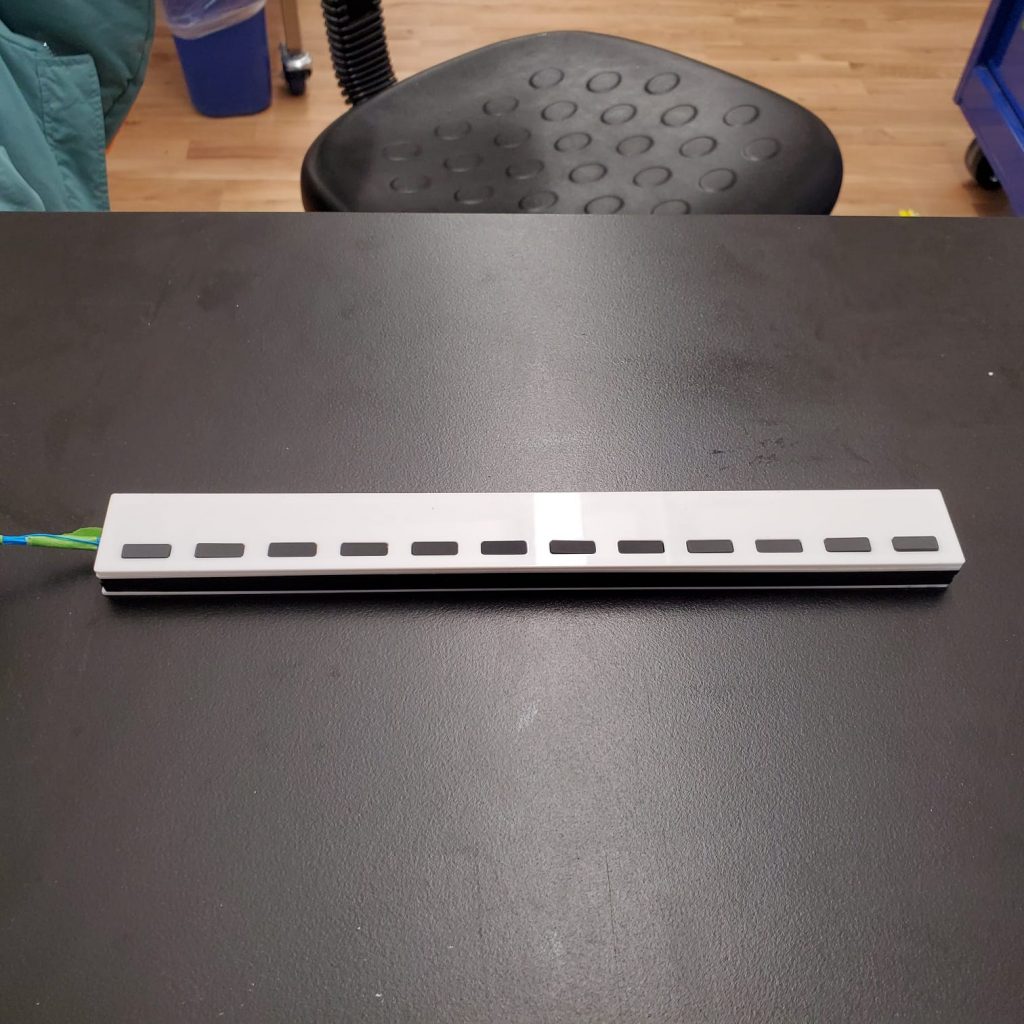
After some back and forth, I landed on the decision to build it with acrylic that is cut on the laser. It has a bottom piece, middle piece, and top piece (please see pictures on the bottom of this page for more detail). Thankfully I was able to do it on “turbo mode” before the ITP facilities became unavailable.
Some compromises I made:
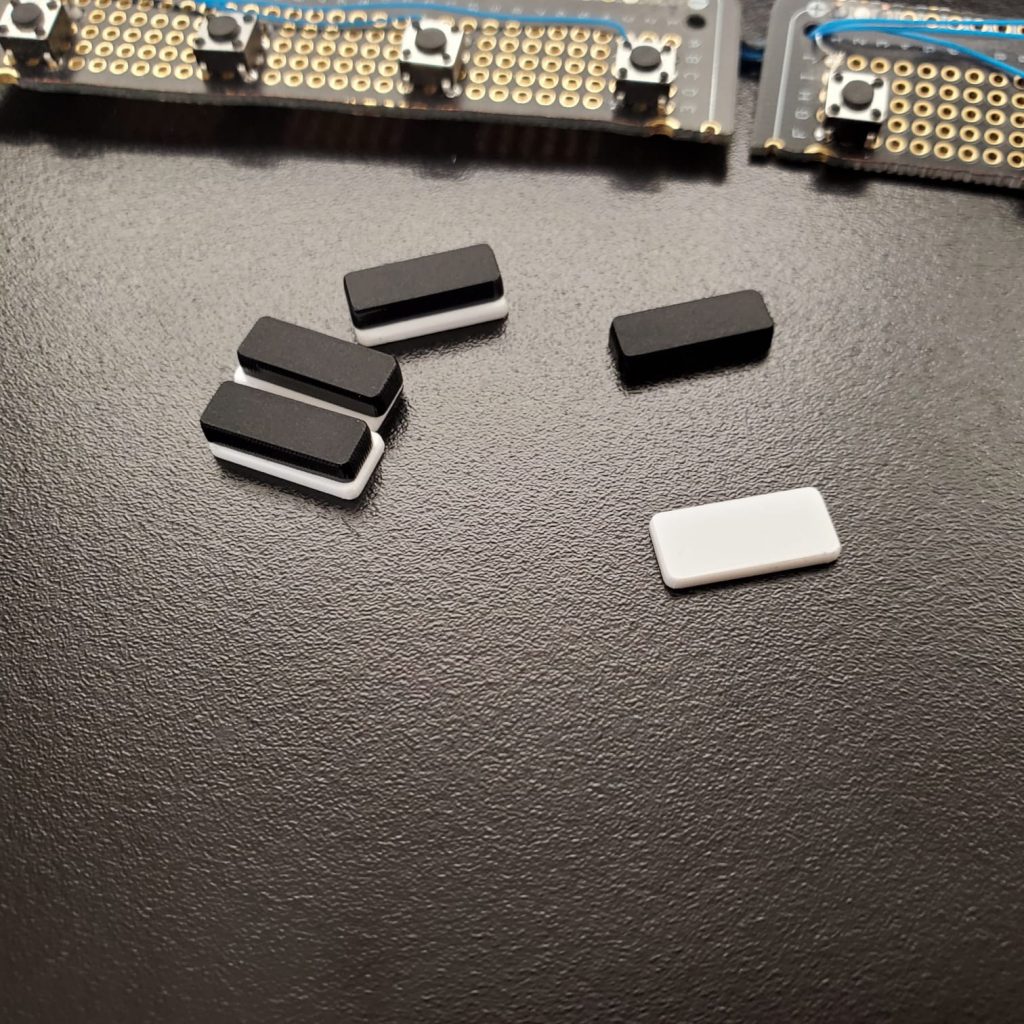
- I didn’t get a perfect fit on my keycaps, so it wobbles a bit.
- I didn’t get to paint it. I was going to paint it with metallic silver paint. Ideally, I wanted the body to look exactly like the MacBook brushed aluminum body.
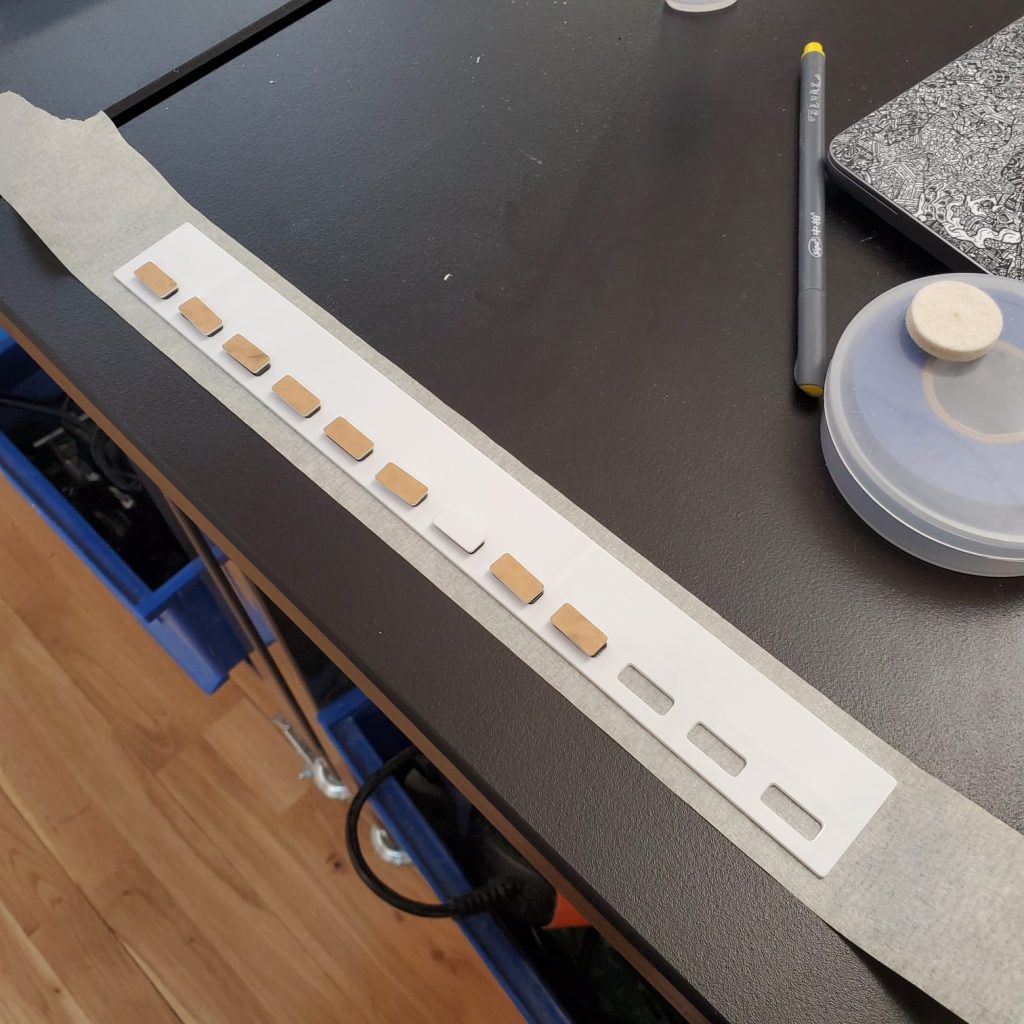
- I didn’t get to engrave the button labels on the keycaps. Instead, I made a makeshift label using sticky notes cut with a hobby knife.
- I had to glue the whole thing down. Ideally, I wanted to create some sort of friction fit mechanism using the mill. The motto of “Screw it, don’t glue it” turned into “Screw it, I’m gonna glue it“
Project in Action
Pictures
Reflection
All in all, I am mildly happy with this project. Considering everything that is going on, I’m happy that this project works and it does not look too bad. Also, I am happy that I was able to perform the fabrication part of it before the facilities became unavailable.
Did I achieve what I wanted to achieve? Probably about 70% of it.
Did I learn new things? Yes
Is this product a product that I want to use every day? No
Can this product be iterated upon into something I’ll want to use every day? Yes